How to make your own stylish candle
Published on March 10, 2025
Few things can create a calming warm ambiance like candlelight.
Whether we are looking for a romantic ambiance, peaceful prayer time, or a calming moment before bed, candles are sure to hit the spot.
As I started decluttering before moving to a new apartment I found many half-burnt candles. Should I keep them and finish them one by one? Should I just throw them away? After a few scrolls through Pinterest, I decided to melt down all my old candles to make my own, new candles. I saved money, decluttered, and accomplished a new skill!
For my project, I was inspired by photos of old candy jars and glass bowls filled with wax. Their simplicity and practicality were a big part of their elegance, and I knew I definitely wanted my own. The instructions below allow for personalized scents and even extra elements like dried flowers.
Since it was my first attempt, I kept my candles somewhat basic, but I encourage you to be creative!
The effort took me about one hour, and I created three candles – so it’s the perfect weekend craft! By following this easy guide, you’ll learn how to create a candle from start to finish, using basic materials you may already have at home, and a few helpful techniques. Let’s get started!
What you will need
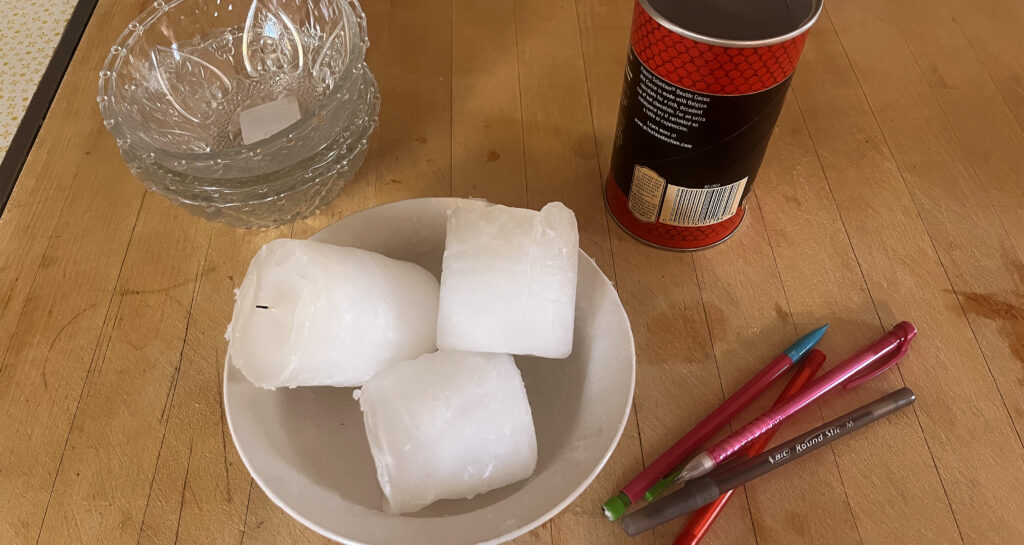
- Wax from old candles (You can also buy new wax)
- Wick (You may be able to repurpose the wick of the old candles)
- Glass bowl.
- Tin can
- Pot with water
- Stick (a pen, pencil, or straw will do)
- Optional: Essential oils or coconut oil for scent, dried flowers for decoration
Quantities depend on the size of your glass bowl.
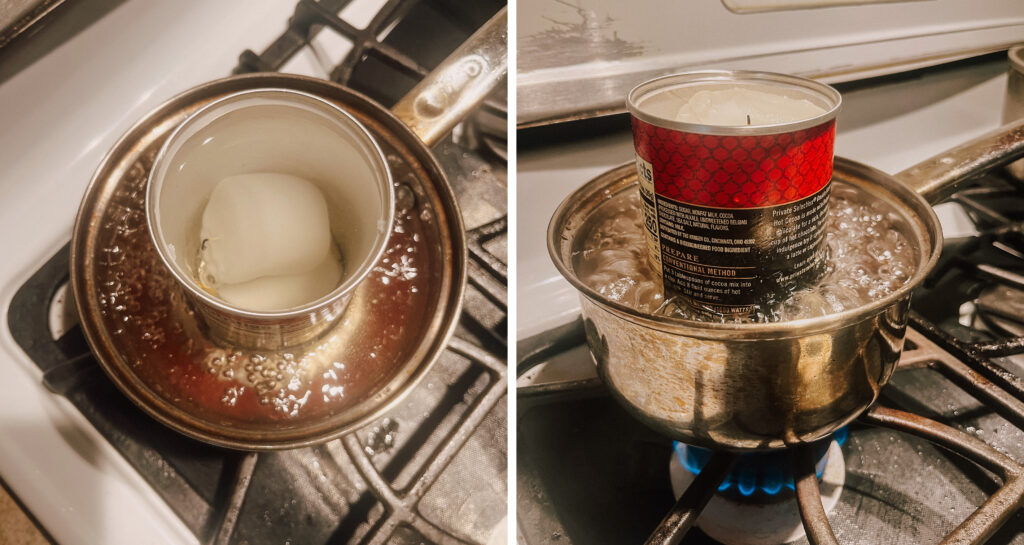
Step 1: Prepare the wax.
In a tin can, add your old wax and candles. Place the can inside the pot of water over the stove and bring the water to a boil slowly. Let the wax slowly melt and stir occasionally to check for old pieces of wick, matches, and crumbs. Carefully remove these from the melting wax.
This should take about 10 minutes, but it will vary depending on how much wax you are melting. Be very careful with this step, as wax can be difficult (but not impossible) to clean.
Once the wax is melted, add essential oils or coconut oil for scent.
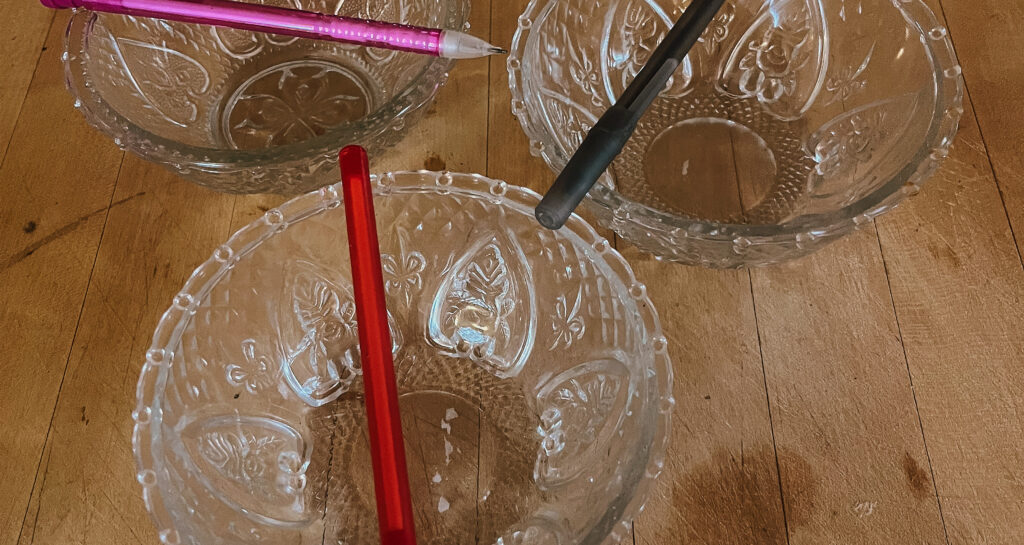
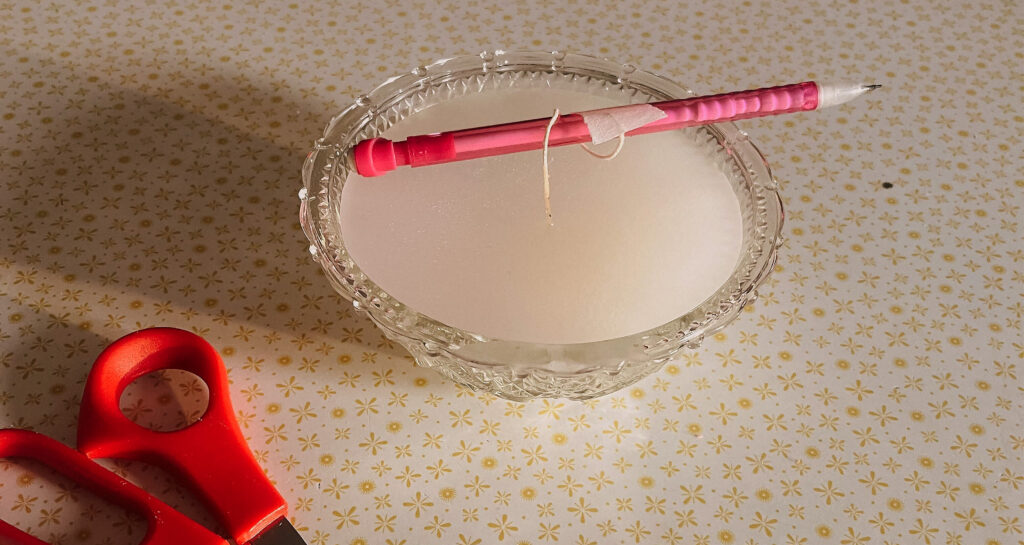
Step 2: Prepare the crystal bowls.
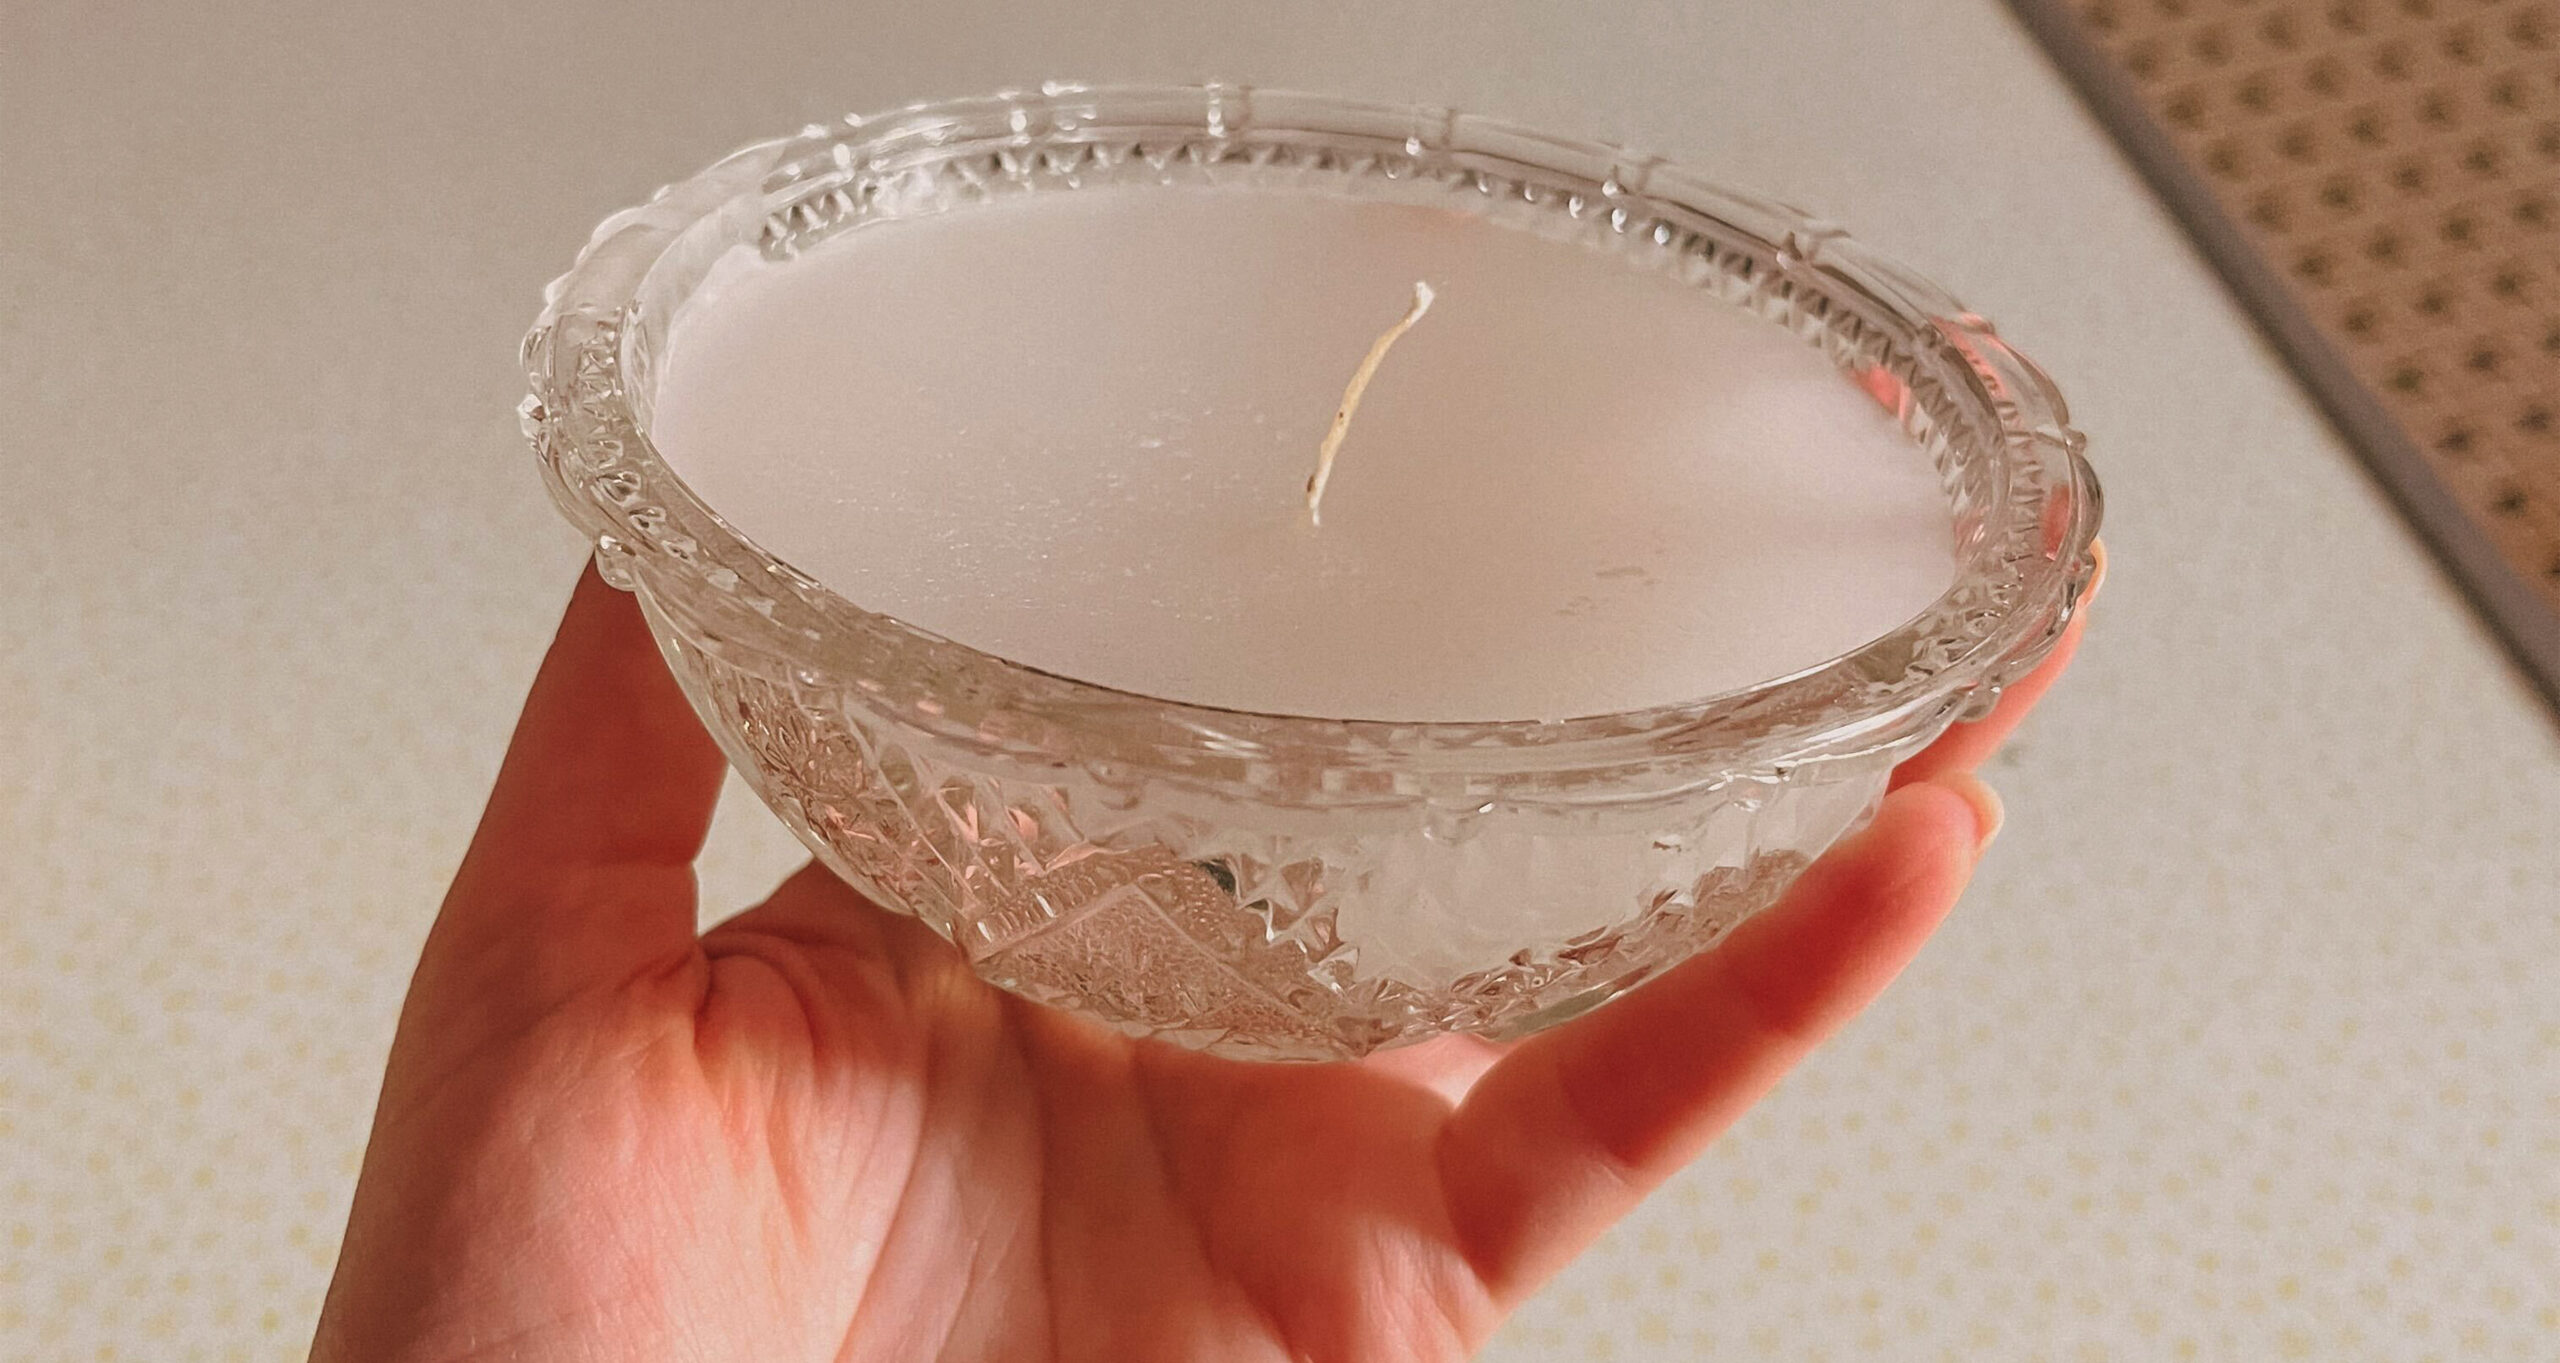
While the wax melted, I washed and dried my glass bowls. I did not have any available at home, but a trip to my local thrift store produced these three glass bowls for a dollar. Other receptacles could include vintage candy jars with lids or old glass jelly jars.
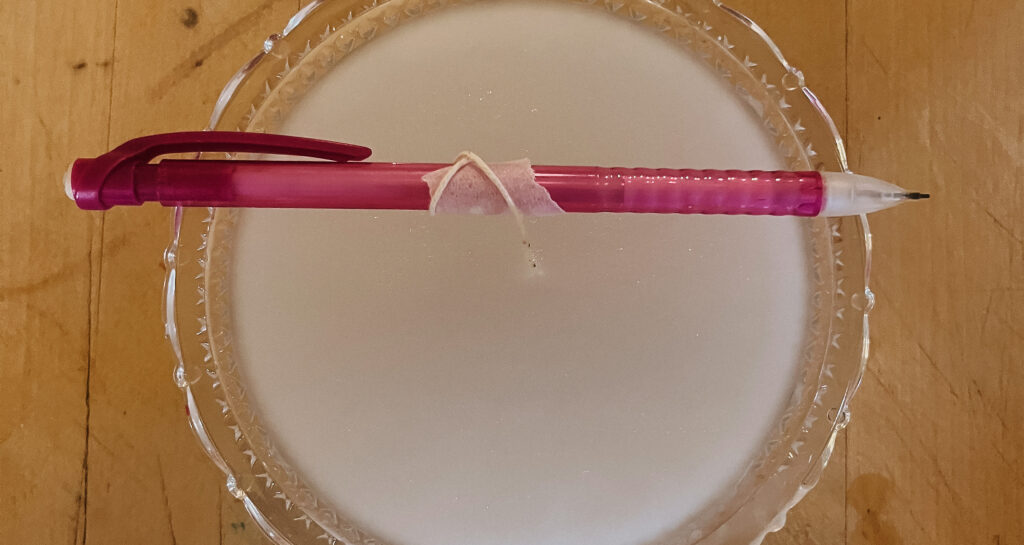
Once the bowls are dried, tape one end of the wick to the stick (or in my case, pen!) and place it over the bowl. Make sure the wick reaches the bottom. Ensure the stick is not moving as this will make the drying process a bit difficult.
Pro tip: tape the stick to the edge of the glass.
Step 3: Pour the wax.
The stick should be enough to hold the wick in place, but if you pour a very small amount of wax and let it dry in place, the wick will hold in place as you pour the rest.
Once the wax is melted and the glass bowl is ready, slowly pour it in. (If you are making multiple candles, return the tin can with the wax to hot water to prevent it from hardening as you adjust your wicks or bowls.)
Pro Tip: The tin can will be warm, so don’t grab it directly with your hands! Use potholders or a kitchen towel.
Step 4: Allow for drying.
This is the least exciting but most satisfying part of the process. Allow the wax to cool and harden completely, which may take several hours.
As the wax cools, you can add dried flowers or petals to the top if you would like. I wanted to keep my candles plain, so I let them sit untouched.
The next day I trimmed the wick to about half an inch above the surface of the wax. This last step will help your candle burn more evenly and prevent it from producing too much soot. Once the wicks were cut, my candles were ready to be lit!
I am sure I will return to candlemaking again soon. It was simple and satisfying and gave me a sense of pride that I didn’t expect. That is the magic of crafting and personalizing the items we use regularly.
There’s something deeply fulfilling about knowing that I had a hand in making something beautiful to elevate my home.
Related Posts

7 Catholic-inspired subscription services you won’t regret
By Ava Cilento


The Joseph option: Fatherhood as a bridge to eternity
By William Nardi
Can’t wait to try this! Thank you!